

10 Things To Do After Installing deepin 15.9
First published on May 6, 2019
A couple months ago I realized I’d only published one IT blog in 2018. But I posted it on the Syracuse InfoSpace. Since my deepin blogs are my most popular, I decided to check out the newest version at the time – deepin 15.7 – but never published a blog.
Months after focusing on distributing music (yes, I’m on Spotify) and music blogs, I wanted to fix this ASAP. So I installed 15.9 (15.10 is available for download as of May 3, 2019) and edited this blog.
The last version I tried was version 2015 in 2016, and the first was 2014.3 the year prior. This was shortly after my first Linux distro – Mint. Since then deepin has moved from being based on Ubuntu to Debian but its still the most beautiful distro I’ve ever used. Meanwhile, I went distro hopping before resting on Ubuntu Studio.
On to deepin 15.9.
The second step in the 15.9 deepin installation was reading through and accepting the end user license agreement (EULA) which I found odd. I’m not sure I’ve ever seen that during a Linux distro installation. Maybe it’s usually just a link that I ignore. The most interesting part of the EULA (yes, I read it):
1) to publish, deliver, transmit, or store any content that contravenes the laws and regulations belongs to the country where the user resides, or threatens the social security, social stability, or anything that is inappropriate, insulting, defamatory, obscene, violent, and against the laws, regulations, and policies belongs to the country where the user resides;
Source: https://www.deepin.org/en/eula/
Maybe I just need to read more EULA’s after the uproar with Instagram.
After the deepin 15.9 installation completed, I rebooted to login deepin and saw some new icons in the dock (bottom taskbar) – disk space, volume, internet connection, and battery level. Unlike 15.7, there was no short tour video to jump-start customizing my deepin desktop environment (DE) – toolbar appearance, icon theme, etc. I thought that walk-through was useful for deepin newbies.
Below are 10 things I recommend doing first.
1. Updates
Click the Control Center gear icon (center of the taskbar), the Updates notification on the top-right, and Download and install updates. Mind the warning that it may take a while. It took me 2 minutes, but then I had to Install Updates again. That took ~15 minutes. Then I was prompted to reboot again. Then I was logging into deepin 15.9.3.
The next morning, I had another 10 minutes of updates waiting on me to upgrade to 15.10. No more about updates/upgrades since everything worked before the updates. That was an issue in 15.7.
Note: The constant updating was likely due to me testing deepin during the upgrade to 15.10.
2. Dock Settings
Right-click the Launcher icon (deepin logo on the left) or within the dock (but not on a button) to customize it. I prefer Efficient Mode and Smart Hide Status so buttons are in the same spot but out of the way until I need them. The Onboard (Keyboard) – along with the Onboard Preferences in the Launcher menu – is a major accessibility win.
3. App Launcher View
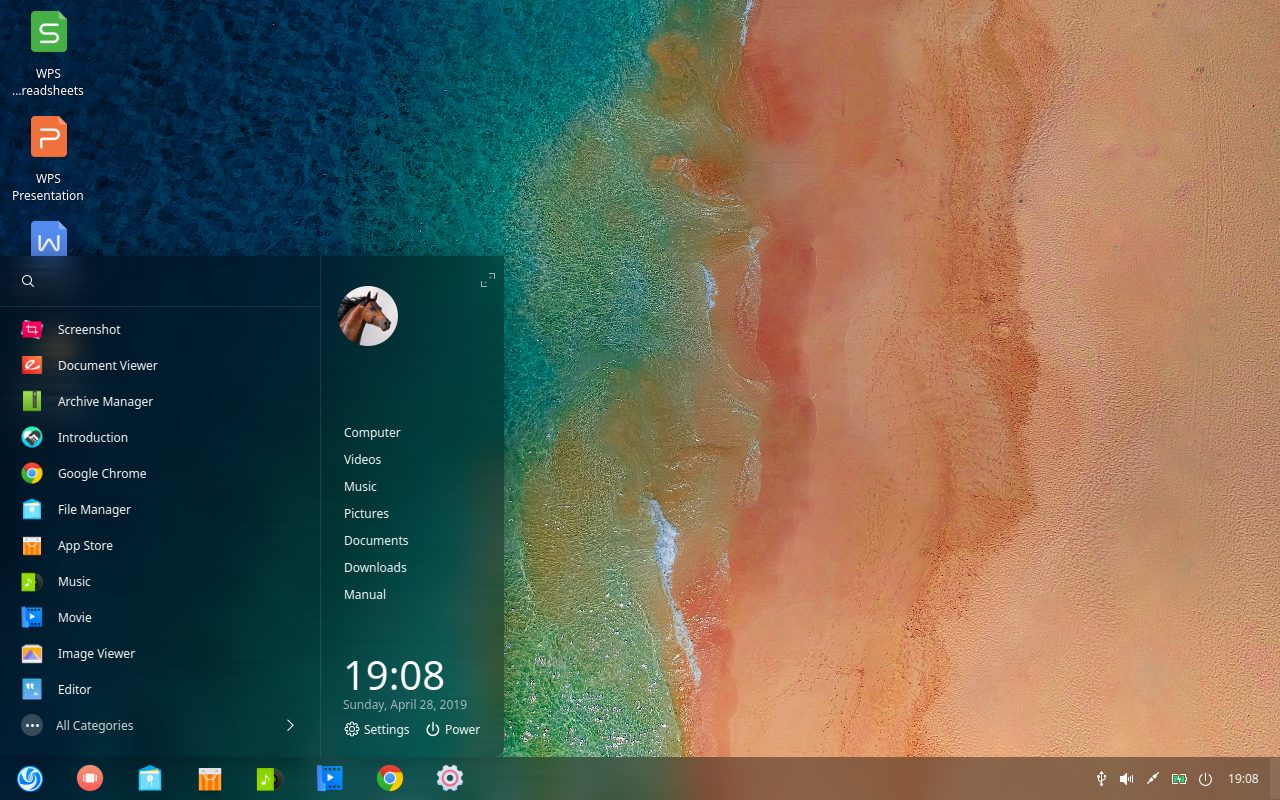
There are 2 ways to view installed apps (in the GUI). The default shows a screen-wide roll-out menu with a search box at the top when you click the launcher button. Pressing the list icon in the upper-left corner categorizes the apps with a sort menu on the left.
Clicking the full-screen icon in the upper-right corner converts the launcher menu to a start menu style connected to the dock launcher button.
4. Window Effects
Click Personalization in the Control Center to disable Window FX (shadows and fades) and save system resources. My laptop was immediately twice as fast. To be fair, it’s slow.
5. Change Window Icon Theme
There are many icon themes to choose from in the Control Center Personalization section. Changing the Window Theme to deepin-dark did nothing until I found the same setting in the window manager options menu. To be fair, I probably should’ve waited another day or 2 to see if there were any other updates.
6. Hot Corners
A Hot Corner activates something when you move your mouse in the corner. You can right-click the desktop to enable hot corners options – Fast Screen Off (Show Desktop), Control Center, All Windows, Launcher, Desktop, or None.
This is the first time I’ve seen deepin with hot corners disabled by default.
7. Delete Unnecessary Apps
I think it’s odd having Chrome installed instead of Firefox, but Thunderbird is installed. Install apps from the deepin store.
Moving past my preferences, uninstall software you don’t use. In this case, it’s likely Cloud Print, Remote Scanner, Simple Scan, and Calender.
I didn’t play with deepin Editor much but it seems like a more elegant (because deepin) Notepad++.
8. Delete Unnecessary Files
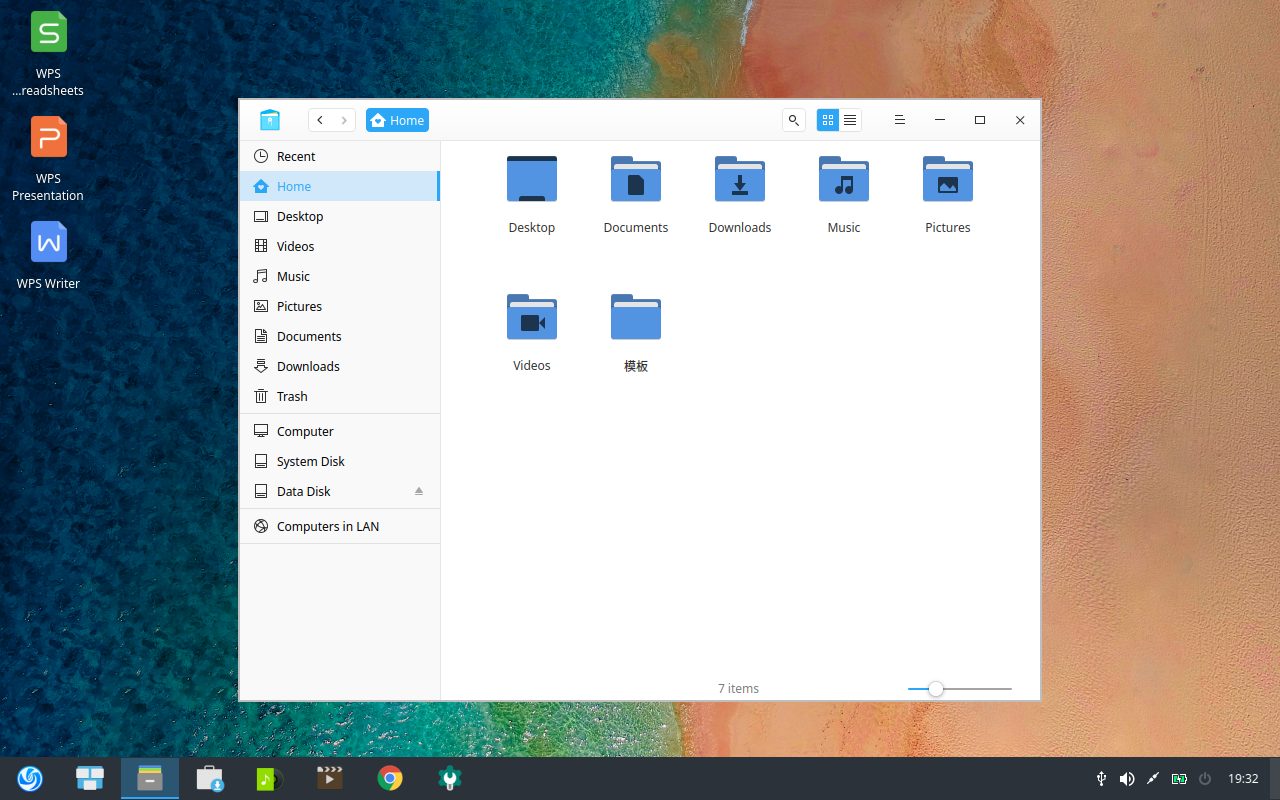
The “模板” home folder translates to “Múbǎn” or template in english and has blank files. Delete.
There are stock files in Pictures, Music, and Videos as well. Delete.
9. Read deepin Manual
Similar to other DE’s, deepin has a suite of apps. With the deepin manual you can learn about the deepin apps: Movie, Music, Image Viewer, Screenshot, Screen Recorder, Voice Recorder, Cloud Print, Cloud Scan, Calculator, Graphics Driver Manager, Package Manager, Font Installer, and Editor.
10. Install Apps in deepin Store
I was able to install most of my audio/video editing suite, GIMP, CherryTree, Master PDF Editor, Etcher Linux Booter, and Redshift. I had to install Gufw in this version.
Evince PDF Reader was preinstalled. The only apps I needed that weren’t in deepin store – Qtractor and Kid3-qt.
I enjoyed using it and will continue to recommend it to Linux users looking for elegance with Debian.
Learn more from deepin.org.
Tags: IT, linux, open-source


